
Core Wallet, developed by Ava Labs, offers a secure gateway to store and manage crypto on major networks, including Avalanche, Bitcoin, Ethereum, etc. However, getting started with Core Wallet may be a hassle, especially for beginners. Hence, you’re at the right place if you choose Core Wallet as the ideal platform to manage your crypto assets. This article will guide you through getting started with Core Wallet, providing essential tips for downloading and using the application.
Why You Need the Core Wallet
Core Wallet stands out among the best crypto wallets with advanced perks and user-friendliness. The platform allows you to send, receive, and manage crypto, NFTs, and dApps across multiple chains 10x faster than Metamask.
The wallet also offers seamless interaction with Avalanche blockchain services, including AVAX staking, NFT Hub, and more. Due to its multi-chain support, Core Wallet is also a secure bridging platform. You can directly bridge assets between supported chains within the wallet, including native Bitcoin bridging capabilities.
Getting Started With Core Wallet
Download
Finding and downloading the Core Wallet is the first step to enjoying its services. Core Wallet is available as a mobile app for Android and iOS devices. It is also optimized for Google Chrome as a browser extension, allowing users to add the wallet to their browser for easy access. This section provides the easy steps to download the Core Wallet to get started.
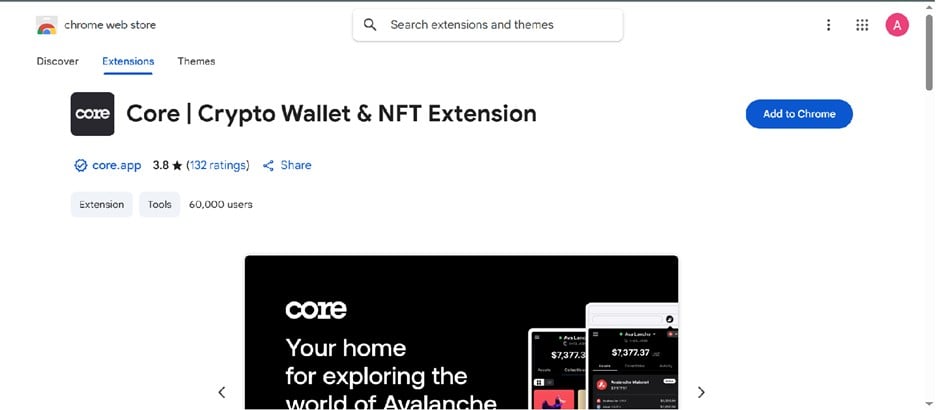
Step 1: Launch the Chrome browser on your desktop and visit the Core Wallet extension page.
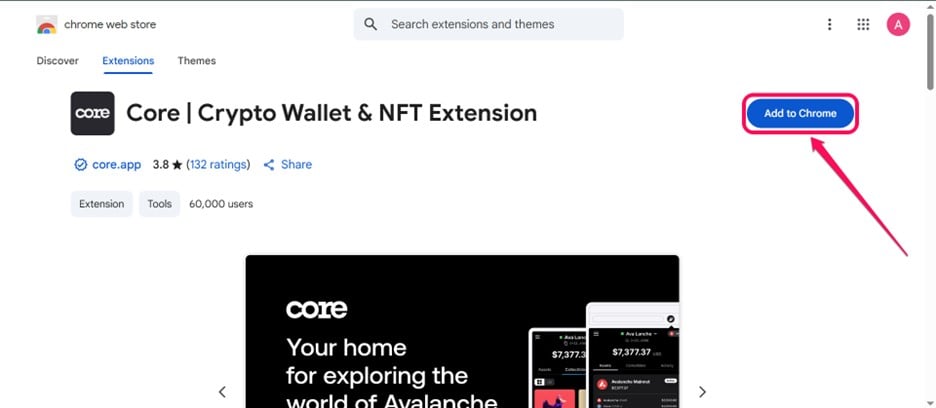
Step 2: Click Add to Chrome until the download is complete.
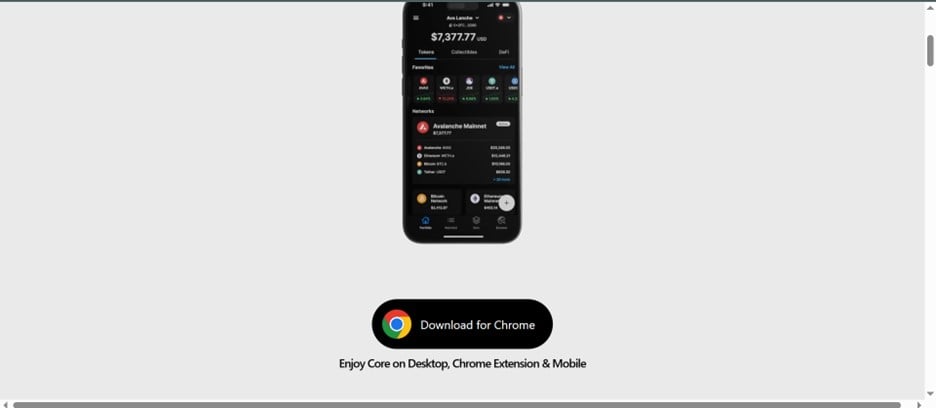
Step 3: If you want to download the app on your mobile phone instead, visit the official Core Wallet website.
Step 4: Tap the Download for Android icon to redirect you to install the app on Google Play. Click Install to begin the download.
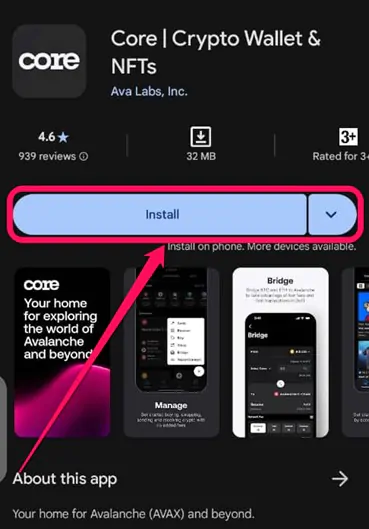
Step 5: You can also download the app on iOS devices by finding Core Wallet on the Apple App Store. Click Install to start the download.
Once you have installed Core Wallet on your desktop browser or mobile device, tap the wallet’s icon to launch it. Depending on your network speed, installing Core Wallet on your device shouldn’t take more than 2 minutes. Also, avoid installing the app from sources not mentioned in this post. Protect your funds by installing apps from official or endorsed websites only.
Wallet Creation
After downloading the app, the next step is creating a Core Wallet account. You can create a new wallet account or import an existing wallet if you already have one for any of Core’s supported blockchains. However, this section will provide steps to create new wallets on Core. Follow the steps below to create your Core Wallet account:
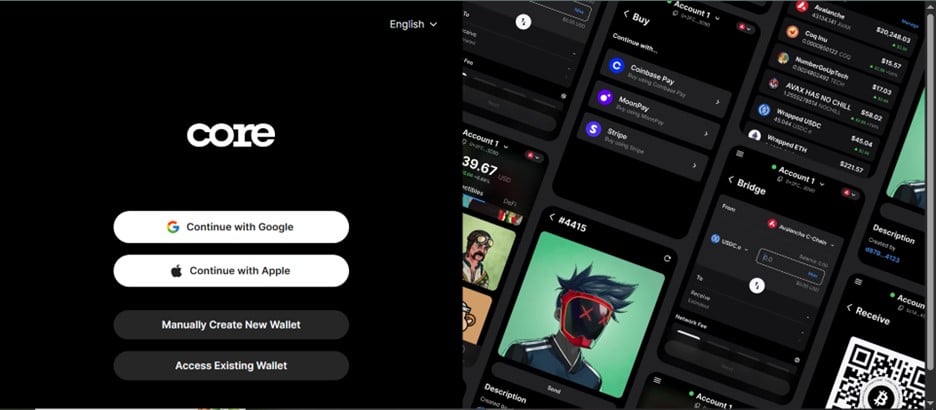
Step 1: Launch the Core Wallet app/extension you just installed. On the onboarding page, select your preferred wallet creation method via email, Apple, or manually.
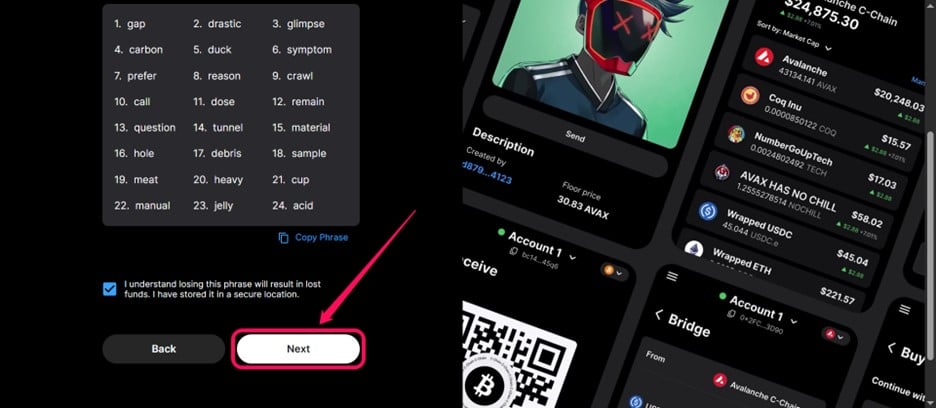
Step 2: You will find a 24-word seed phrase. Write the phrase down and keep it safe, as it is crucial for account recovery.

Step 3: Click Next, then complete the seed phrase verification on the following page. Submit your answers to proceed.
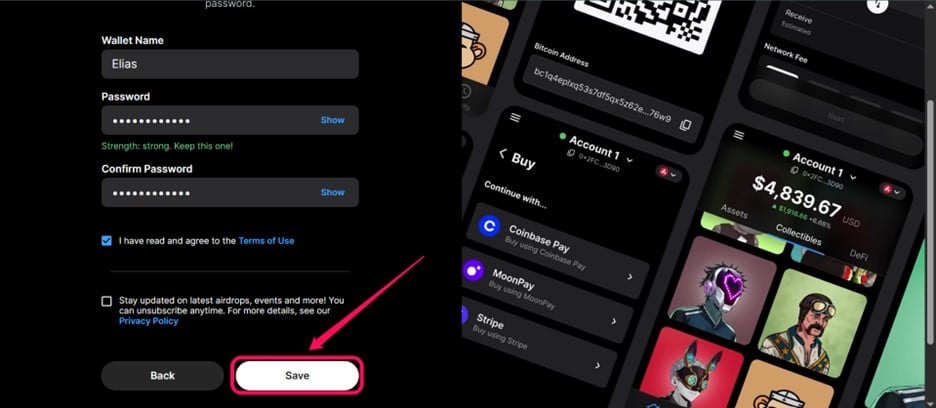
Step 4: Fill in your “Account Details,” i.e., account name and password. Click Save to proceed.
Step 5: Ok the next page, decide if you’re interested in Core’s airdrop programs. Once that is complete, your Core Wallet account will be ready.

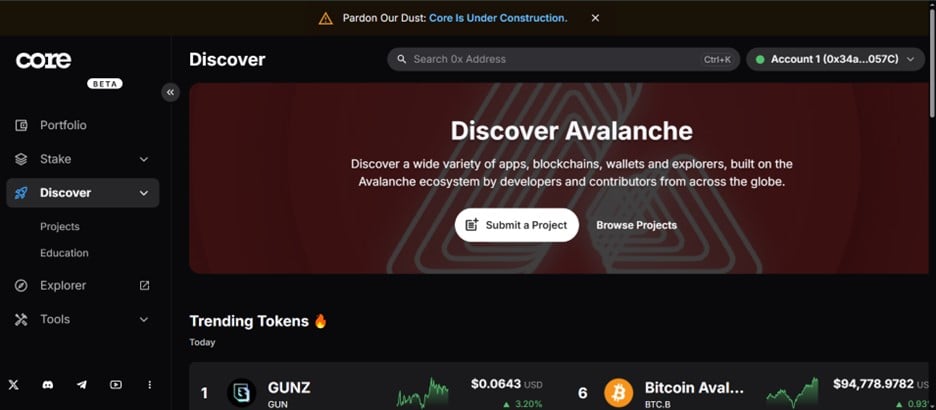
Pinning the Core Wallet extension on your Chrome browser is advisable for easier access. Also, upon creation, Avalanche will be the default network for your wallet. You can easily switch to other supported networks using the wallet’s network switch drop-down.
Quick Tour of the Core Wallet
The wallet’s homepage reveals your account’s crypto balance, wallet address, current network, and a list showing your tokens. You can also access the wallet’s trade features by clicking the “Action” button. Once clicked, you’ll find the app’s buy, sell, receive, QR code, swap, and bridge features.
The “Collectibles” section shows your NFT collection, while the DeFi page allows you to vote on your transaction history on the app. You can modify your profile settings using the “Settings” button in the wallet’s menu bar.
Bottom Line
Core Wallet by Ava Labs is one of the best multi-chain wallets, designed to simplify your Web3 experience. Getting started with Core Wallet begins with downloading, installing, and creating a wallet account. Following the steps highlighted in this post, you can perfect your crypto journey using Core Wallet within minutes. Remember to avoid clicking download links from shady third-party platforms to protect your account and funds.
FAQs
1. What happens if I lose my phone or computer where Core is installed?
You may lose the account forever. However, if you have your secret seed phrase securely backed up offline, you can download Core on a new device and use the “Import Existing Wallet” option with your phrase to recover the account.
2. Can I use the native Bitcoin bridge in Core Wallet for free?
No, you must pay standard Bitcoin network transaction fees for the initial transfer and the bridging fee the bridge provider charges (distinct from Core Wallet). You’ll also pay Avalanche network fees when using the BTC.b token on Avalanche.
3. Do I need to add personal data to create a Core Wallet account?
No, you don’t have to input personal data when creating a Core Wallet account. However, Core Wallet may collect non-personally identifiable data like Usage Data and Diagnostics to improve the app. You can opt in or out of analytics collection during setup or in the app settings.
4. What can I do if I have issues with my Core Wallet account?
The best option is to contact the Core Wallet support channel. You can also use the live chat on the support channel or the Ava Labs Discord to share grievances and get real-time responses.
5. Is Core Wallet safe?
Yes, Core Wallet is one of the most secure Web3 wallets available. However, its ultimate security depends on how you safeguard your secret phrase and login passcode.