
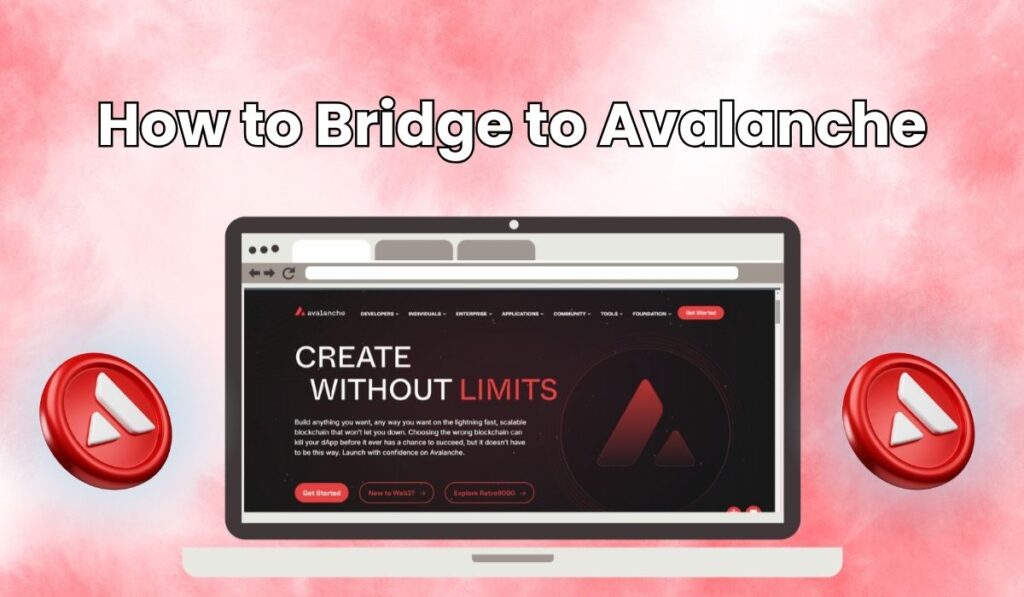
Avalanche, a blockchain known for hosting gaming dApps, has witnessed a significant influx of new users, thanks to its growing popularity in the gaming space. If you’re new to dApps and the process of on-chain transactions, this guide is for you. Whether you’re exploring Avalanche for gaming or other decentralized applications, we’ll walk you through how to bridge to Avalanche efficiently. With clear instructions and helpful tips, you’ll be ready to navigate the bridging process and take full advantage of Avalanche’s capabilities.
Can I Bridge to Avalanche?
Bridging to Avalanche is easier than you might think, thanks to cross-chain bridges that let you transfer funds between networks. While you’ll need to cover bridging fees along with gas fees, most bridges support EVM-compatible blockchains like Avalanche. To make your experience even smoother, bridge aggregators can help identify the best Bridge to Avalanche. However, keep in mind that they do charge additional protocol fees.
Avalanche is unique because it uses the C-Chain for smart contract transactions. Since Avalanche is EVM-compatible, bridging assets from other EVM-compatible blockchains is straightforward. However, bridging from non-EVM-compatible blockchains, like Solana, requires additional steps. This guide will help you navigate both scenarios.
Key Things to Keep in Mind:
Before starting the bridging process to Avalanche, ensure you complete these steps:
1. Wallet:
A Web3 wallet is essential for seamless on-chain transactions like bridging. One of the most popular options is MetaMask, which allows you to manage assets on EVM-compatible networks, including Avalanche.
Other wallet options include Core Wallet, a native Avalanche wallet developed by Ava Labs. Not only does it offer smooth asset management on the Avalanche network, but it also supports bridging assets from Bitcoin and Ethereum networks.
Blockchain Wallet Finder
2. Gas Fees:
You’ll need the native token of the networks involved to pay for gas fees. On Avalanche, the native token is $AVAX, required to receive tokens and pay the “destination network fee”. Purchase $AVAX from a centralized exchange, such as Bybit, and confirm that the exchange supports transfers to Avalanche’s C-Chain.
3. Add Support to Wallet:
Make sure the Avalanche C-Chain is added to your wallet. Wallets like MetaMask don’t include Avalanche by default, so you’ll need to configure it manually to interact with the network.
Download MetaMask for your device

How to Bridge to Avalanche?
There are plenty of cross-chain bridge options available to bridge to Avalanche. The choice of which one to use mainly depends on the network you wish to bridge from. Let’s take a look at what we believe are the best options, which provide you with the versatility and security to bridge to Avalanche.
Using Core Bridge
Core Bridge is the official Avalanche bridge, built by Ava Labs, offering support for 3 chains: Avalanche, Ethereum, and Bitcoin. Unlike other bridge protocols, Core Bridge allows users to bridge more than just stablecoins between networks. Let’s take a look at the steps involved in bridging to Avalanche using Core Bridge:
Step 1: Open your browser and head over to the Core Bridge.
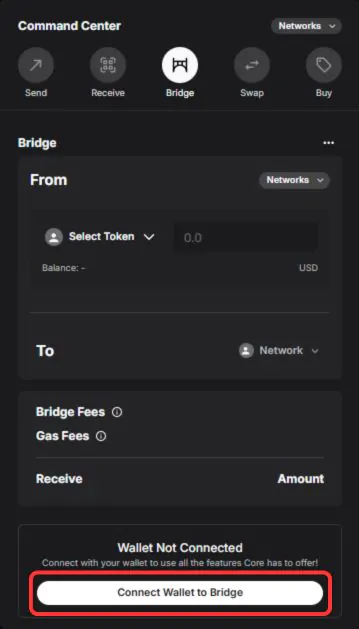
Step 2: First, we will need to connect our Web3 wallet to the Core Bridge by clicking on the “Connect Wallet to Bridge” button.
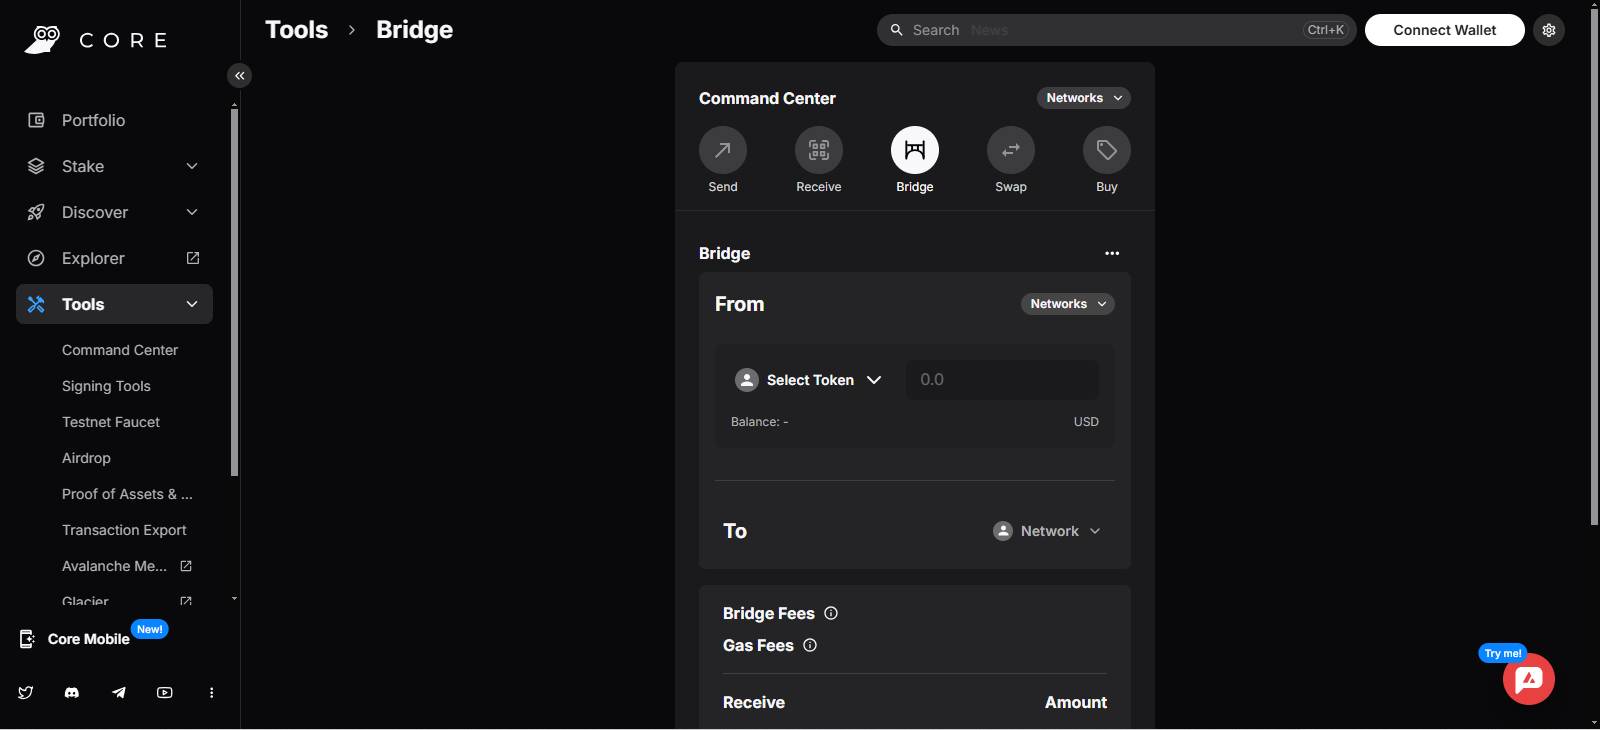
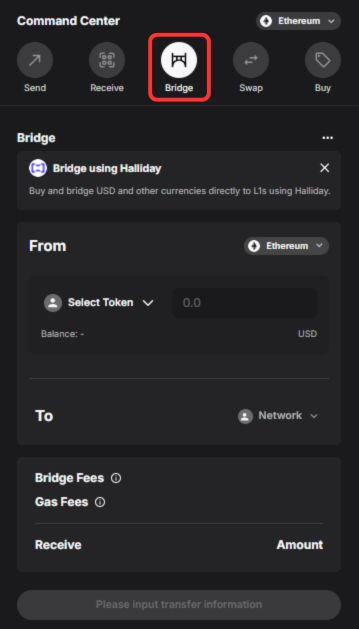
Step 3: Once the wallet is connected, make sure you’re in the core bridge by clicking on the “Bridge” icon.
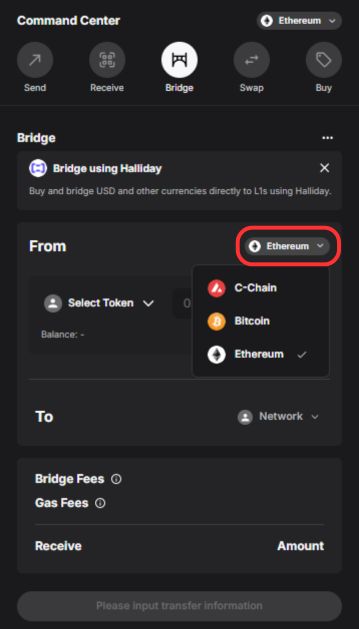
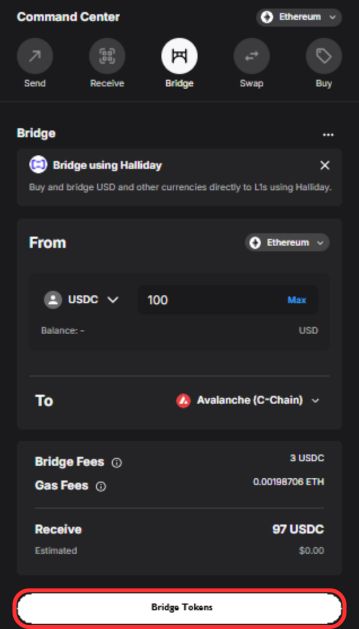
Step 4: Now let’s select a network to bridge from; you can choose either Bitcoin or Ethereum.
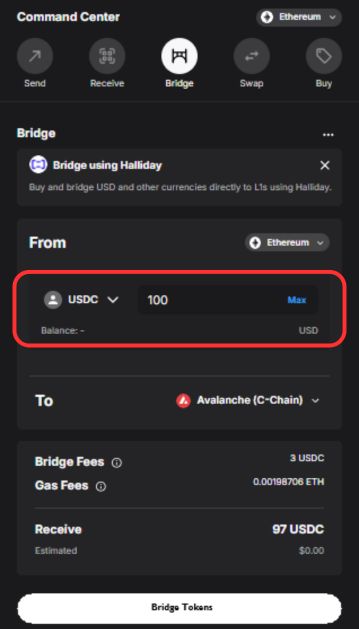
Step 5: With the network selected, use the asset dropdown menu to choose the token you want to bridge and enter the amount to send to the Avalanche network.
Step 6: Now, move to the “To” field, where we need to select “Avalanche C-Chain” as the network we wish to bridge to.
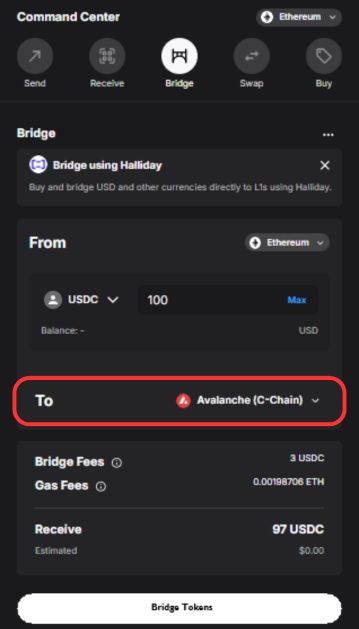
Step 7: The transaction details will be revealed at the bottom. To complete the transaction, click on the “Bridge Tokens” button.
Using Layerswap
Core Bridge is an official Avalanche bridge, but its blockchain support is limited, and its functionality can be a bit confusing. It’s not just a simple bridge; it also acts as a wallet with bridging and other features. In cases like this, alternatives such as Layerswap offer a simpler and more user-friendly solution for bridging to Avalanche. Supporting over 53 blockchains, including EVM-compatible and non-EVM-compatible chains like Solana, Tron, and Ton, as well as centralized exchanges, Layerswap makes asset transfers across different networks easier. Let’s take a look at the steps involved in bridging to Avalanche using Layerswap.
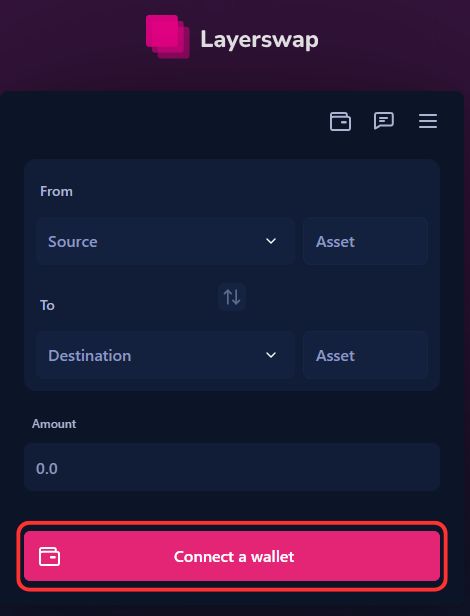
Step 1: Open a new tab in your browser and head to the Layerswap website.
Step 2: Begin by connecting your wallet to Layerswap. Simply click the “Connect Wallet” button to get started.
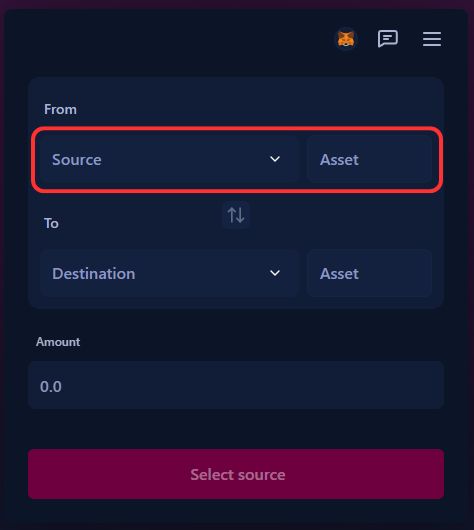
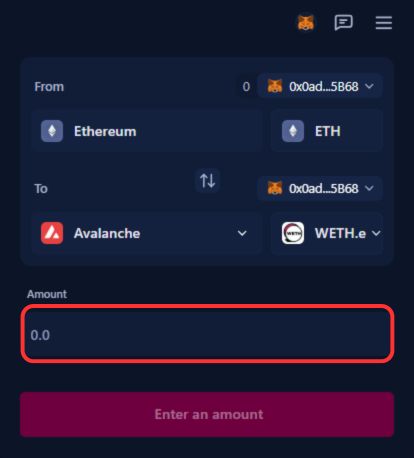
Step 3: Once connected, choose the “Source” chain, which is the network you want to bridge from, and select a token from the “Asset” dropdown.
Step 4: In the “Destination” section, select Avalanche as the network to bridge your assets to.
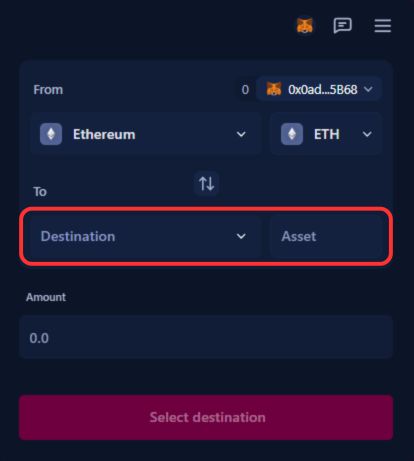
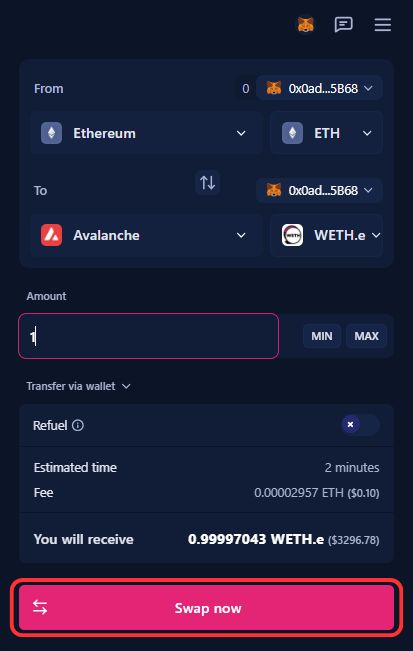
Step 5: Enter the amount of tokens you want to bridge to see the transaction details.
Step 6: Review the transaction details, then click “Swap Now” to complete the bridging process.
Using Rango Exchange
At times, you may find that no single bridge supports the network you wish to bridge from to Avalanche. In such scenarios, bridge aggregators can be incredibly helpful, even if they come with slightly higher fees. Platforms like Rango Exchange provide multiple bridging routes, offering various options for costs and transfer speeds.
Rango Exchange excels as a bridge aggregator by connecting to over 100 DEXs and bridges, ensuring efficient and secure transfers. Its smart routing system identifies the best paths, making it a versatile choice for bridging tokens to Avalanche. Let’s now explore the steps to bridge to Avalanche using Rango Exchange.
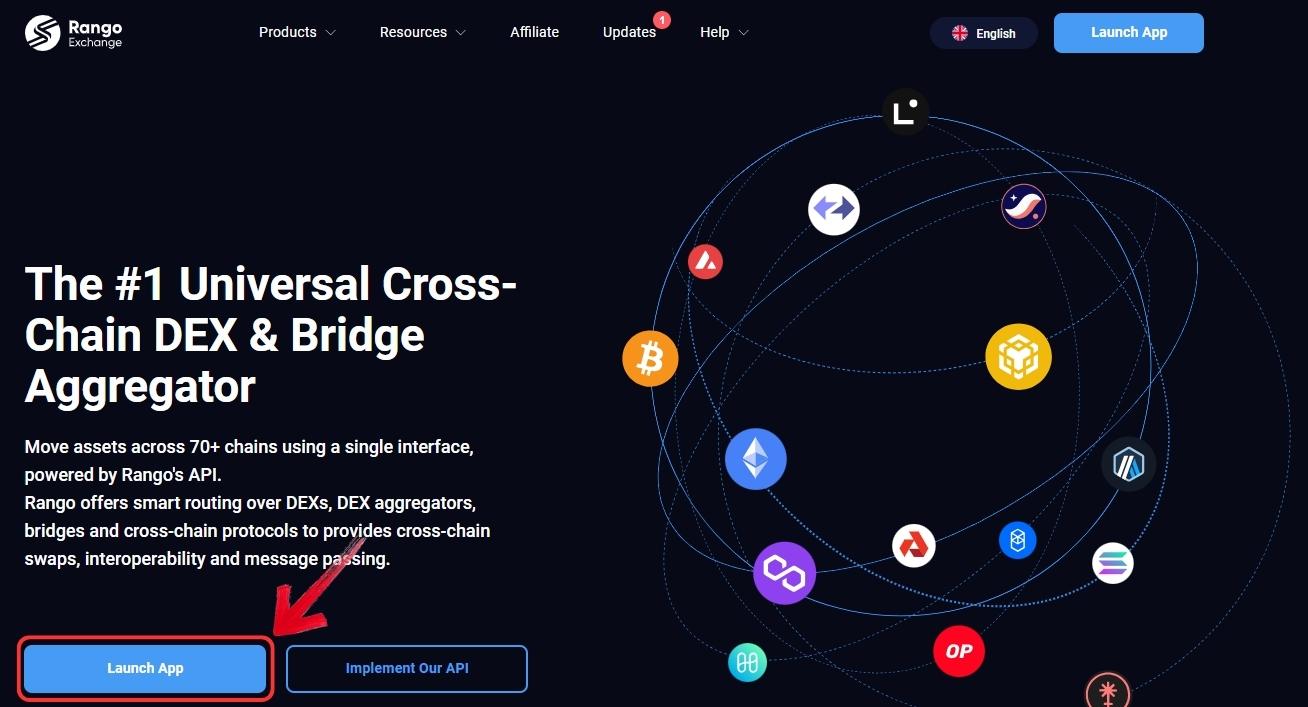
Step 1: Open your browser and go to the Rango Exchange website.
Step 2: Click “Launch App” to access the Rango platform for bridging solutions.
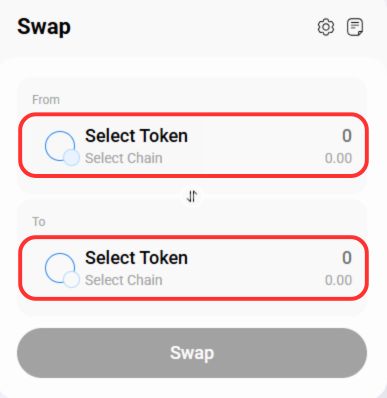
Step 3: Select the source and destination networks and tokens you wish to bridge. For this guide, we’ll choose Avalanche as the destination.
Step 4: Once the networks are set, click the “Connect Wallet” button to link your wallet to the platform.

Step 5: Enter the amount of tokens to transfer to Avalanche and confirm the details on the swap page.

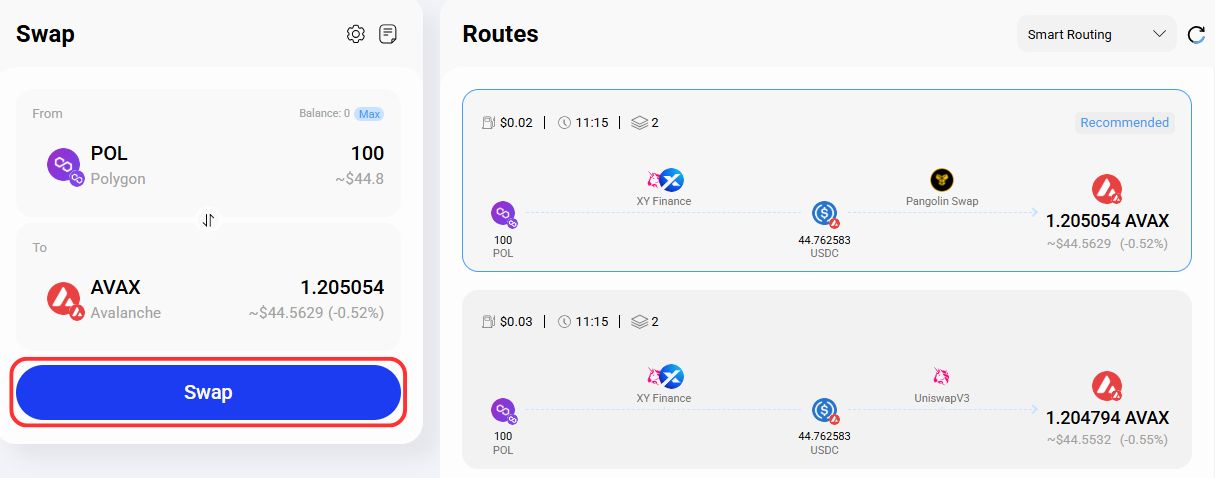
Step 6: Rango will present different bridging options. Review the available routes and select the one that best suits your preferences, then click “Swap” to complete the process.
Avalanche Bridging Fees
Bridging fees to Avalanche depend on several factors. Avalanche’s network fees are generally low—though not as low as Layer 2 solutions—and typically cost just a few cents. The total cost also depends on the network you are bridging from; for example, transferring from Arbitrum or another Layer 2 network often incurs minimal fees. Platform-specific charges further influence the overall cost, with services like bridge aggregators (e.g., Rango Exchange) adding an additional fee on top of the network fees.
Bottom Line
The Avalanche blockchain is known for its efficient transaction system, featuring low fees and fast processing times, making it an attractive choice for cryptocurrency investors. For those who want to experience this firsthand, the best option is to bridge to Avalanche and explore its ecosystem. This guide provided an overview of bridging solutions, and while there are other bridge protocols available that support Avalanche, the ones mentioned here are what we consider secure and reliable.
FAQs
1. Do I need $AVAX in my wallet before bridging to Avalanche?
Yes, $AVAX is required to pay gas fees for transactions on the Avalanche network. Make sure to acquire $AVAX and transfer it to your Avalanche wallet (C-Chain) before initiating any on-chain transactions.
2. Can I bridge NFTs to Avalanche?
Yes, certain bridges, like Core Bridge, support NFT transfers, depending on the originating blockchain. Ensure the bridge you choose explicitly supports NFTs to avoid any asset loss during the transfer.
3. What happens if I send tokens to the wrong network?
If you mistakenly send tokens to the wrong network or address, retrieving them may require technical expertise or contacting the bridge provider’s support team. Double-check all details before confirming a transaction.
4. How long does it take to bridge assets to Avalanche?
The time required varies depending on the bridge used and network congestion. Most bridges, like Core Bridge or Layerswap, complete transactions within a few minutes. However, bridging from non-EVM-compatible blockchains may take longer.
5. What’s the difference between Avalanche’s C-Chain, X-Chain, and P-Chain?
- C-Chain is for smart contracts and EVM-compatible transactions.
- X-Chain is optimized for asset transfers and is not EVM-compatible.
- P-Chain manages validators and staking on Avalanche.
For bridging, always use the C-Chain, as it supports dApps and Web3 wallets like MetaMask.